Program & audience
Sponsors & exhibitors
Showcase sponsors and capture booth leads.
Under Sponsors you manage the companies supporting your event and how they appear publicly.
If you don't see this tab in the sidebar, enable its area under Settings → Event sections.
Adding sponsors
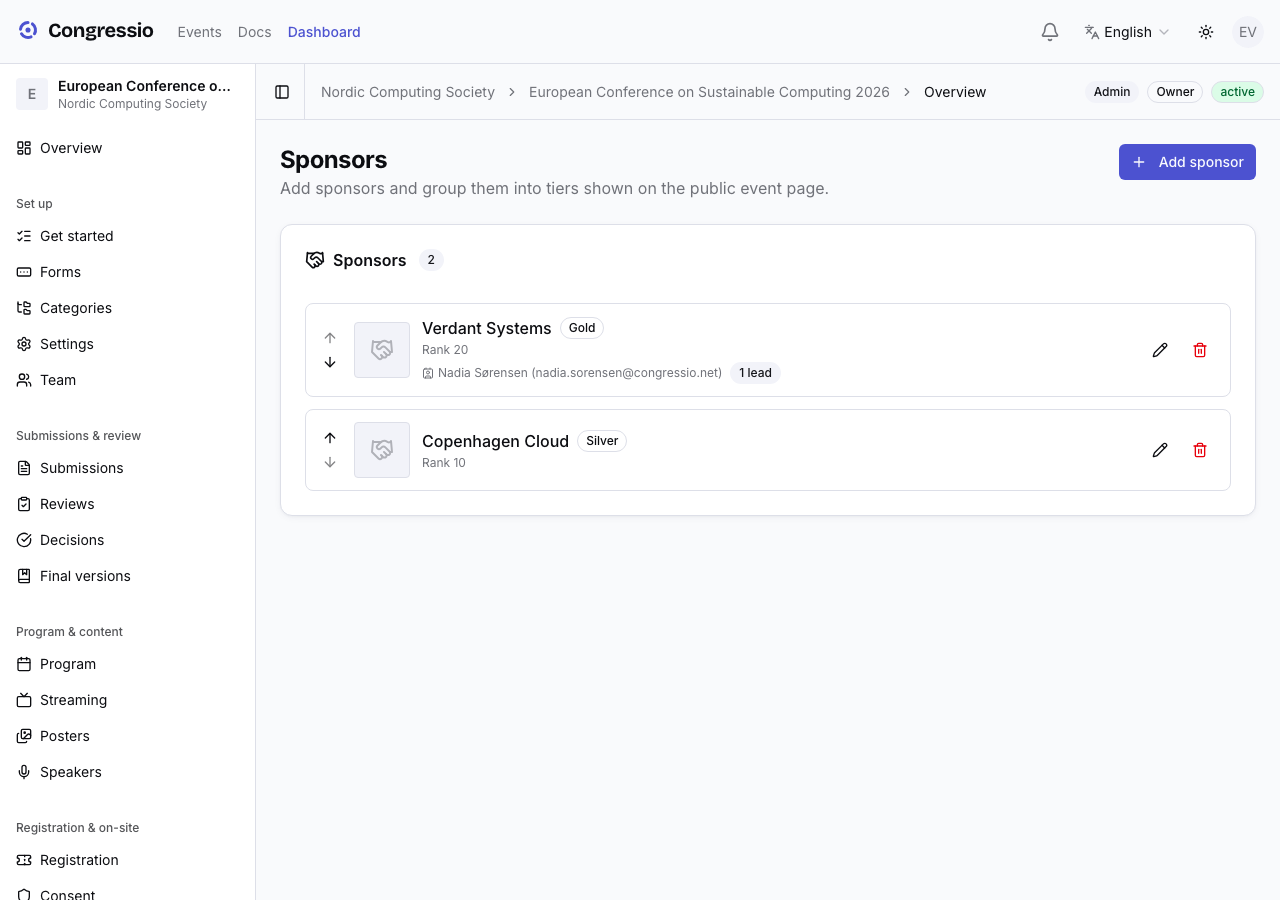
Add each sponsor with a logo, website, tier, and a description — when AI is enabled, Rewrite with AI polishes the blurb. Sponsors appear on the public event page grouped by tier.
The tier field opens the list of tiers this event already uses — pick one, or type a name nobody has used yet and choose Create "…". Nothing is pre-filled, so a tier is only ever created because you chose it.
Tier order is set once, for the whole event, in the Tier order card: drag the tiers (or use the arrows) with the most prominent first. Every sponsor in a tier follows its tier's position — you never type a rank, which is what used to let one tier split into two blocks on the public page.
Exhibitors & the Lead scanner
Sponsors can be exhibitors with a booth. The Lead scanner page captures badge-scan leads — when an attendee presents their pass at a booth, their consented contact details (name, email, affiliation) are recorded for the sponsor to follow up. Leads can be exported.
Setting up booth staff end-to-end:
- On the event's Team page, give the booth person the Exhibitor role (see Roles & team).
- In the sponsor's edit form, set Linked exhibitor account to that person — their scans are then attributed to the sponsor, and the sponsor's lead count shows up.
- That person now sees Lead scanner in the event sidebar and can scan badges at the booth.
Event admins can open the Lead scanner too; anyone else (no exhibitor or admin role) gets a 404 on that page.
Lead capture is a consented, real-world exchange (the attendee presents their badge). See Consent for how attendee data is governed.
Related: Program & speakers · Consent