Setting up your conference
Events, settings & publishing
Create an event, set the dates and windows, and take it live.
An event is one conference. You can create it blank or with the guided setup. Every event starts as a draft — private to your team — until you publish it.
Core settings
Under Settings → General you set the name, URL slug, event dates, timezone, venue address, and public description. The General tab also holds the Dates & windows card (below), the Email sender card, and the Event status control used for publishing. Two more tabs:
The timezone starts on your browser's own zone when you create an event, not UTC — check it anyway if you're organizing from elsewhere, since every deadline is read against it.
- Visibility — who can see the event: Public (anyone) or Members only.
- Branding — logo and colors used on the public event page and in emails. See Branding.
The general fields save as you type — there's no Save button on that card, and a line under it confirms when the change is stored. (The URL slug is committed when you leave the field, since changing it moves your public URLs.)
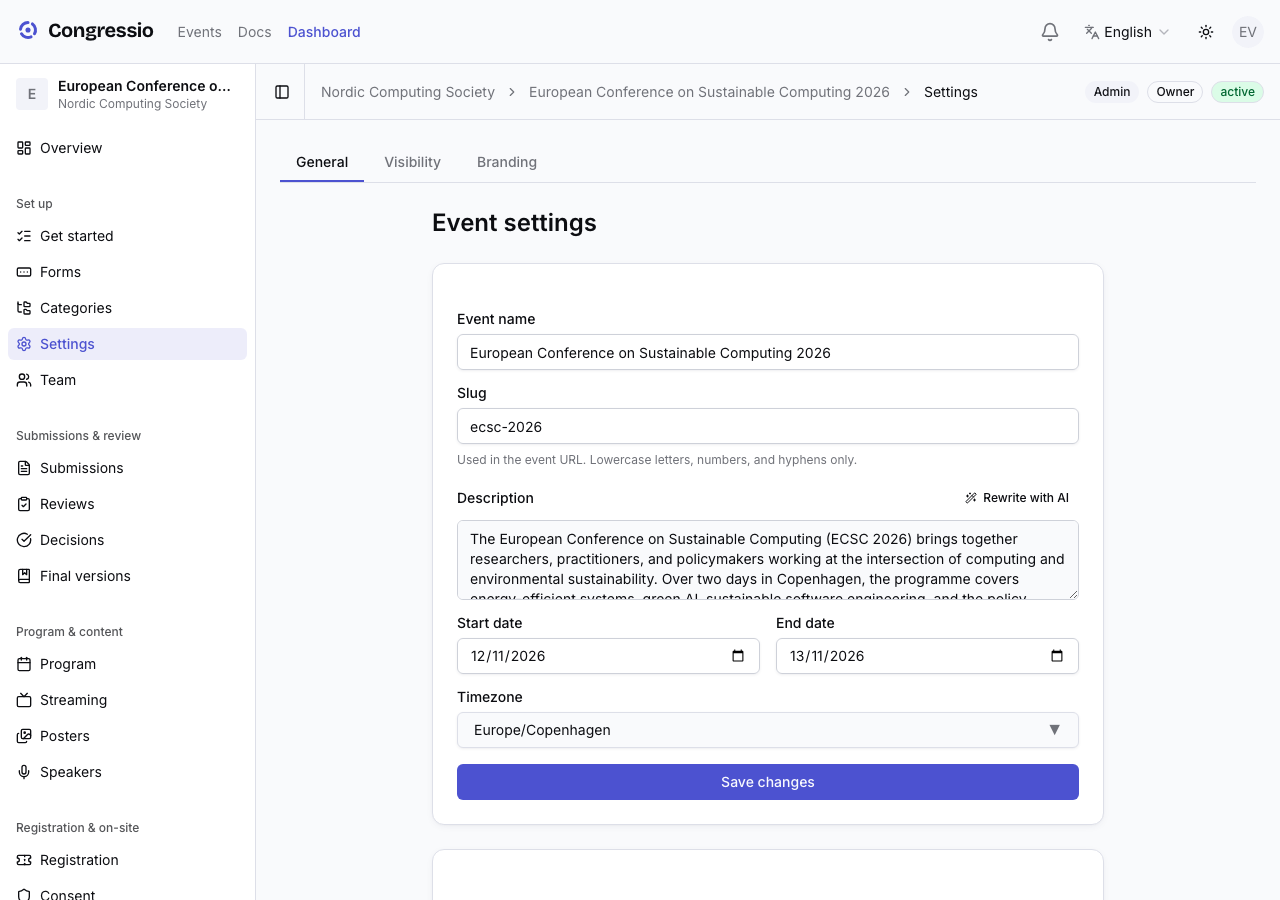
Dates & windows
The Dates & windows card on Settings → General controls two open/close windows, both edited as wall-clock times in the event's timezone:
- Call for papers window — when authors can submit. Hidden for registration-only events.
- Registration window — when attendees can register. Before it opens, the public register page says registration isn't open yet; after it closes, it shows the closing date instead of the form.
Leave a field empty for no limit, and use Clear window to remove both bounds — an unset window is always open. The setup checklist's "Set the submission window" item links straight to this card.
The setup assistant
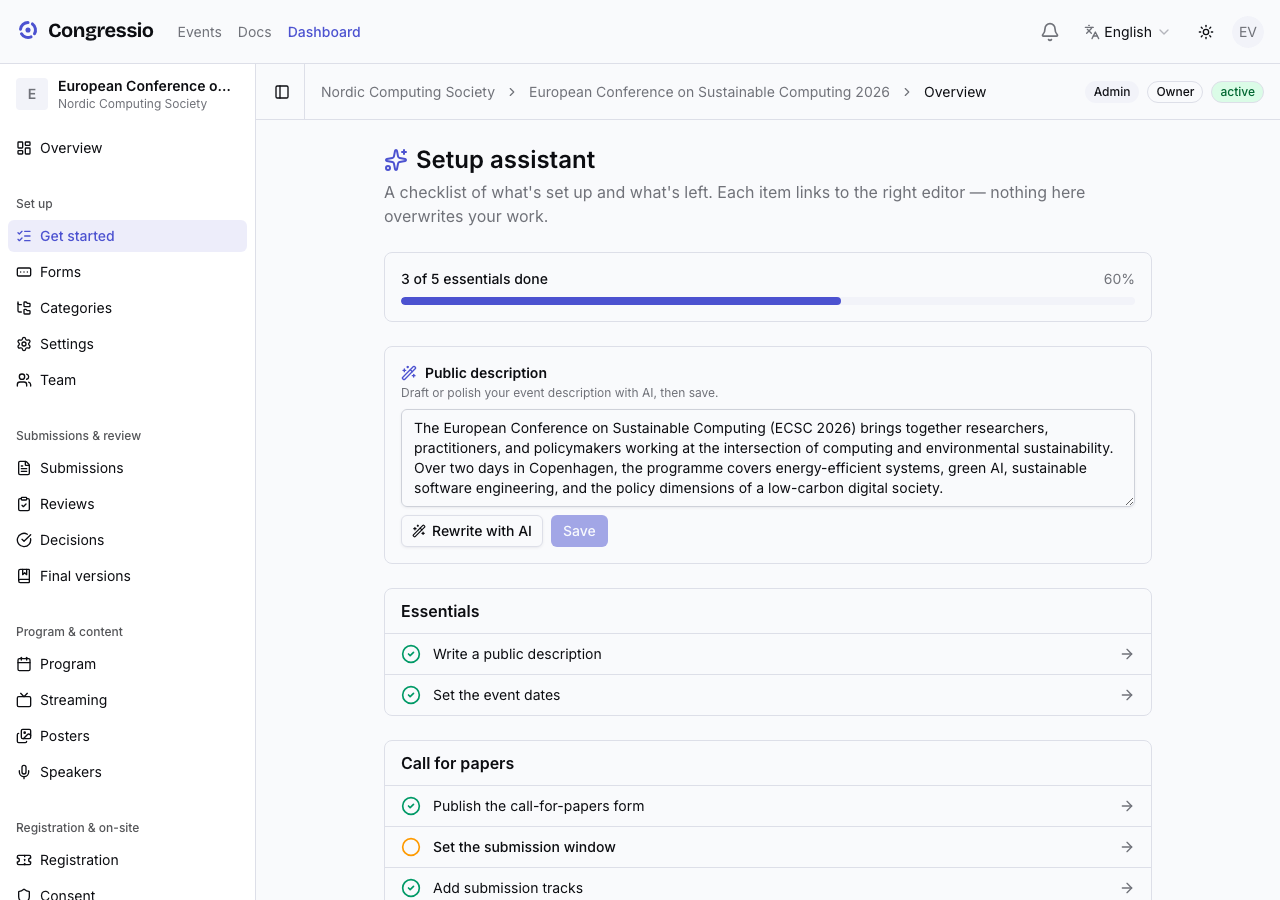
Get started (top of the Set up section) is a live checklist of what's configured and what's left — description, dates, CFP form, tracks, review, registration, consent, emails, branding, program — each linking to the right editor. It never changes anything on its own; it just shows status and, when AI is on, lets you draft the public description in place.
Publishing
When you're ready, open Settings → General and click Publish event. This flips the event from draft to active and makes it publicly visible according to your visibility setting.
- Publishing sends no emails on its own.
- For people to submit, the call-for-papers form must also be published and its window open (see Call for papers).
- Changed your mind? Revert to draft pulls it private again.
Tip: run through the setup assistant before publishing — it catches the common "forgot to publish the form" mistakes. If you used the guided setup with its publish switch on, the event and its forms are already live.
Related: Guided setup · Branding · Call for papers
Conference series
If your conference runs every year, group its editions into a series from the organization's Series tab. Create a series, then add each edition to it. Every edition's overview then shows a "Part of the … series" banner linking its sibling editions, and the series page gives you an Across editions dashboard — submissions, acceptance rate, and registrations trended year over year. Deleting a series just unlinks its editions; the events themselves are kept.