Getting started
The guided setup wizard
Describe your conference in a sentence and let AI draft the whole setup.
The guided setup builds a complete conference from a short description — tracks, call for papers, review form, registration, consent, team invitations, emails and branding — and can publish it in the same step. You review and edit everything before anything is created.
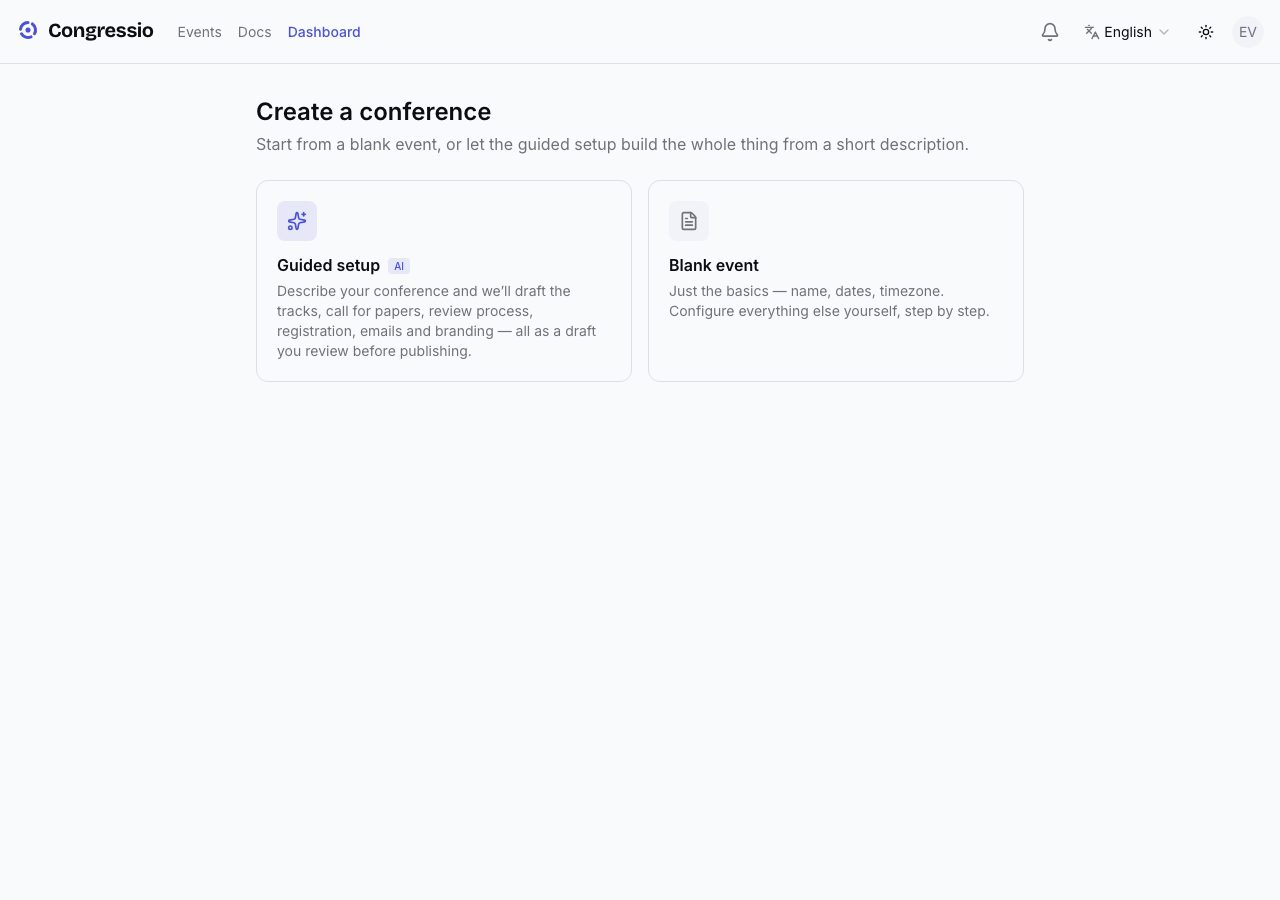
Starting it
From your dashboard, choose Create event → Guided setup. You'll pick an event type:
- Conference with call for papers — the full pipeline (submissions, review, decisions).
- Registration-only event — a congress or summit: tickets, program and attendees, no paper submissions.
Step 1 — Describe your conference
Give it a name, dates, and a timezone, then write a short brief, e.g.:
3-day academic conference on applied cryptography in Berlin, ~200 attendees, double-blind review, two tracks (research + industry), student and regular tickets.
The more you say — field, scale, review style, tracks, tickets — the better the draft.
Step 2 — A few quick questions
With AI on, the wizard asks up to 4 short clarifying questions before drafting — the review model, tracks, scale, tickets. If you left the dates empty it asks about timing first, since the submission and review deadlines are scheduled from the event date. Answer what you can, or click Skip & draft at any point.
Step 3 — Review and edit
The AI drafts every section and drops you on a review screen. Nothing is created yet. You can:
- Edit any field directly.
- Regenerate a whole section, or Refine it with a note (e.g. "add a student track", "more formal tone").
- Rewrite individual texts with AI (descriptions, email bodies).
- Switch off sections you don't want (tracks, registration, consent, team, emails, branding).
At the bottom, the Publish the conference now switch — on by default — controls whether the event goes live the moment setup finishes or stays a private draft.
Step 4 — Create
Click Create & publish conference (or Create draft conference if you turned the switch off). The wizard scaffolds:
- Your tracks, plus a required Track selector on the submission form — reviewers are matched and assigned by it.
- The submission form, published so authors can submit as soon as the CFP window opens.
- A populated, published review form: each rating criterion is a required score out of 5 (these ratings are the reviewer's score), plus a recommendation dropdown, required comments for the authors, and optional confidential comments for the committee.
- Review settings (blind mode, reviews per submission, per-reviewer cap) and a review deadline.
- A published registration form with your ticket tiers.
- Consent items, ready-to-send email drafts (they only send when you trigger them), and your brand colors.
- Team invitations from the Team & reviewers section — reviewers, program committee and co-admins you listed are invited the moment the conference is created (this section is never AI-filled: you type the real addresses, or skip it and invite everyone later from the event's Team page).
No emails are sent either way. You land on a done screen with recommended next steps — and warnings, if anything needs your attention.
How the dates are computed
With a start date set, the schedule anchors to it: the CFP closes at least three weeks before the event, and the review deadline lands at least one week before it, so the program can be finalized in time. Without dates, the windows count from today — you can adjust them any time under Settings → General → Dates & windows.
Currency note: online payment supports EUR, USD and GBP only. If you price tiers in another currency the wizard warns you — those tickets would check out as free. Change the currency or collect payment outside the platform.
If your organization doesn't have AI enabled, the wizard still works — it skips the questions step and drafts from sensible templates you can edit.
Related: Events & publishing · Setup assistant checklist · AI features